
At first… I am always shooting in RAW. This means that I get all the data the sensor was able to pick up. If you shoot in JPG, there is already some basic adjustments applied… lens corrections, basic adjustments for vibrance, saturation, contrast and also for exposure.
This is actually quite nice for people who do not want to go through all the hassle of editing the pictures. Usually the JPG modes are not bad. There are thresholds in dark and light areas, that when crossed will turn that info black or white. The details will be lost.
The reason I like to shoot in RAW is that one of the filters that are being used in JPG export modes contains a „blur“. This basically means that you spend your money on a good camera and decent lens, just to get a first blur, some artifacts before you even started working on the pictures.
You sacrifice quality for filesize…
So, why all this techblabla… I have been repeatedly asked to record a video of how I edit my Ninja pictures. Before taking „all the magic away“ I think it was important to let you know that RAW pictures are meant to be edited. The RAW pictures look flat, pale… but fortunately you can get quite a bit out of it.
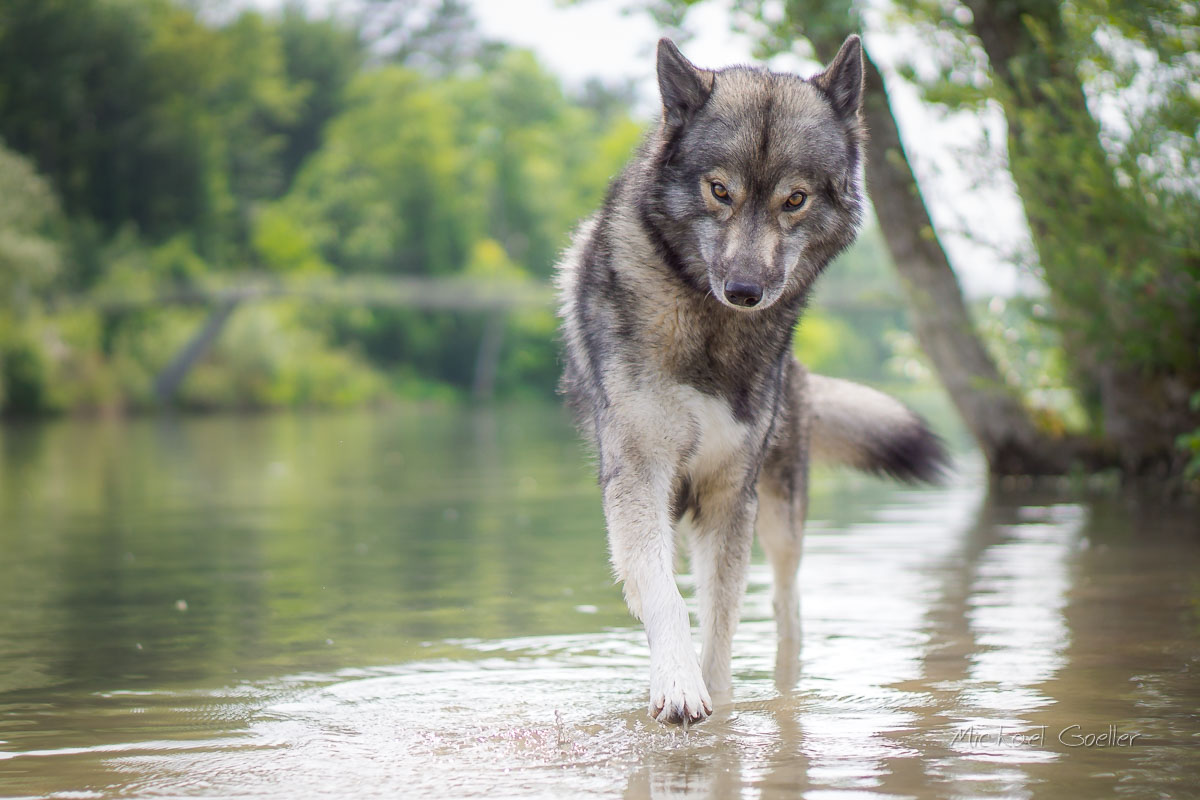
Here is the final result… I will edit the video as you read this here.
#adobephotoshop #cute #photochallenge #outdoors #visualsoflife #adventuremutts @adventuremutts #natgeo @natgeo #woods #tierfotografie #happy_pet #ilovemydog #topdogphoto #adventuredog #canine #dogoftheday #husky #huskys #huskylovers #huskydog #workingdog #huskies #huskysofinstagram #huskyphotography #itsahuskything #snowdog #siberian #wolfdog #worldofwolves #tamaskan